| Basic Painting by GIMP |
[The purpose of this section]
Learn the basics to paint a picture by Painting software “GIMP.”
Learn the basics to paint a picture by Painting software “GIMP.”
Now that a series of actions executed so far have fully prepared the painting and editing, you can draw or paint pictures by selecting tools from the toolbox and using them.
(Note) The following instructions are based on GIMP1, but the basic use is the same with GIMP2.
Paintbrush (Free-form Curve, Daub, etc.)
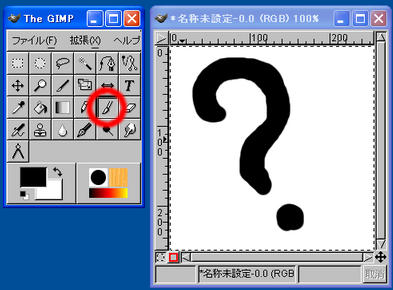
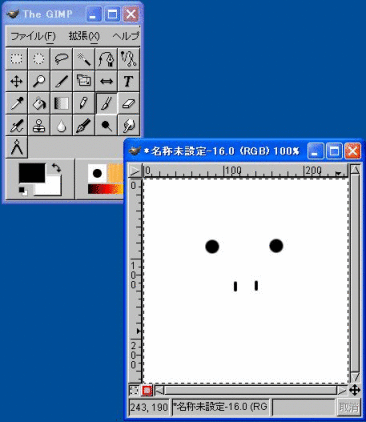
Select “Paintbrush” tool from the “Toolbox,” and you can draw dots and lines freely by just clicking or dragging (moving the cursor while pressing the left mouse button) on the image window (canvas).
When you double click on a tool (e.g. the “Paintbrush” above), you can select the options of the tool to change the expression.
When you double click on a tool (e.g. the “Paintbrush” above), you can select the options of the tool to change the expression.
Draw a Straight Line by a Paintbrush
Although you can draw a free-form curve by selecting “Paintbrush” tool, you cannot draw an exact straight line only by dragging.
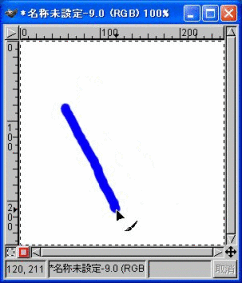
To draw a straight line, click the starting point first ( (you need to take your finger off the mouse once).
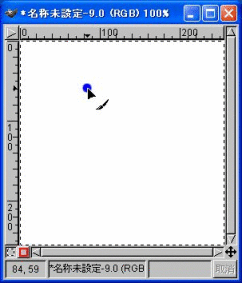
Then drag the mouse while pressing the shift key (which shows a pale straight line between the mouse pointer and the original starting point), and then take your finger off the mouse at the final ending point to draw the final straight line.
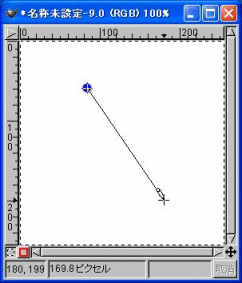

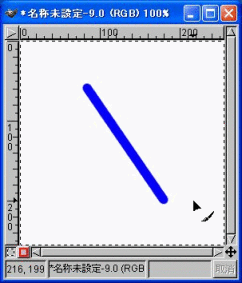
(*) To draw straight lines consecutively, repeat the above process while pressing and holding the shift key.
To draw a straight line, click the starting point first ( (you need to take your finger off the mouse once).
Then drag the mouse while pressing the shift key (which shows a pale straight line between the mouse pointer and the original starting point), and then take your finger off the mouse at the final ending point to draw the final straight line.
(*) To draw straight lines consecutively, repeat the above process while pressing and holding the shift key.
Undo (Go Back to Original)
It sometimes happens while working on Painting that you draw a line wrongly, or you feel the original state before the drawing to be better and you wish to go back to the original state. In such cases, you can simply use Undo (go back to original), to go back to the original state with no hassles. You can also repeat this operation to restore a still further earlier state.
- Right click on the painting area to show the menu. Then select “Edit” →
“Cancel,” and you can go back to the previous state.
You can obtain the same result by pressing “z” while holding down the “Control” key.
Select Brush (Changing the Width and Form of the Paintbrush)
To change the form of a brush, you can click on the “Brush” at the bottom right position of the Toolbox to open the “Brush selection” dialogue, and then select the brush to use.

(*) When changing the width or the form of a brush, do it before drawing. The same is true when changing the color.
(*) When changing the width or the form of a brush, do it before drawing. The same is true when changing the color.
Select Color
When the color is not specified, the Paintbrush stays black color, and you can draw black dots or lines.
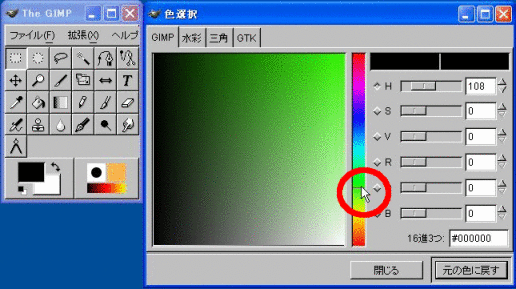
To change the color to use, click on “foreground/background” at the bottom left of the Toolbox, to show the “Select color” dialogue.
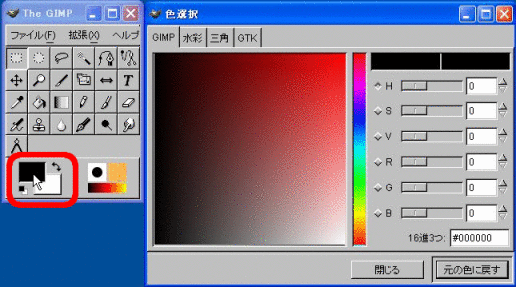
In the “Select color” dialogue, select first the color area you wish to use, by the vertical bar at the center, as shown below.
Then select the color you wish to use from the left window in the “Select color” dialogue, by dragging the mouse (move the cursor while pressing the left mouse button), where the selected color is the one where your finger comes off the button. The selected color is then displayed at the “foreground” at the “foreground/background” of the “Toolbox.”
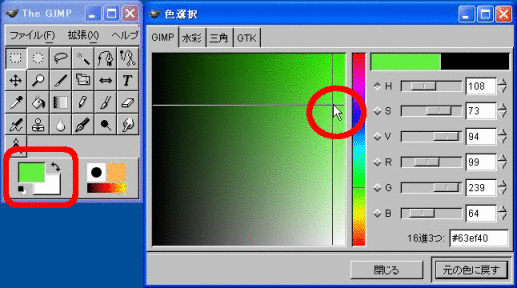
When the color (at the foreground) is selected, the brush assumes the designated color, and you can thereafter paint the picture in the color.
Copyright Eri Hayashi 2005, All Rights Reserved
To change the color to use, click on “foreground/background” at the bottom left of the Toolbox, to show the “Select color” dialogue.
In the “Select color” dialogue, select first the color area you wish to use, by the vertical bar at the center, as shown below.
Then select the color you wish to use from the left window in the “Select color” dialogue, by dragging the mouse (move the cursor while pressing the left mouse button), where the selected color is the one where your finger comes off the button. The selected color is then displayed at the “foreground” at the “foreground/background” of the “Toolbox.”
When the color (at the foreground) is selected, the brush assumes the designated color, and you can thereafter paint the picture in the color.
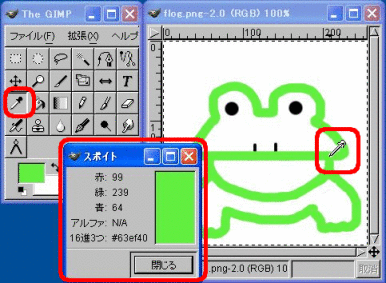
Reuse a Color that Was Once Used (Dropper)
When you are using multiple colors to paint a picture, you may sometimes wish to use a color that you have already used before. In such cases, you can select the “Dropper” icon from the Toolbox and then, in the painting area, click on the spot whose color you wish to reuse, to set it on the foreground color, as shown in the figure below.
Exercise for How to Use a Paintbrush
[Practice2]
Select “Paintbrush” in the Toolbox, and paint a simple picture by changing the color and the form of the brush, to save it to the “exl.xcf” file that was already saved. Make sure to draw at least 3 straight lines in the picture.
Furthermore, select the “Airbrush” icon from the Toolbox, use the tool to add a simple picture (or apply the paint to the picture), and then overwrite save it.
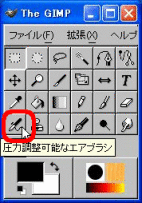
(*) “Airbrush” is provided in the Toolbox (as shown below), and can be used to apply colors just like you spray paint.