
| Creating New Email, Receiving and replying to email |
[The purpose of this section]
Learn about how to send and receive emails and basic manners.
Learn about how to send and receive emails and basic manners.
Creating new email and sending email
[Practice 3]
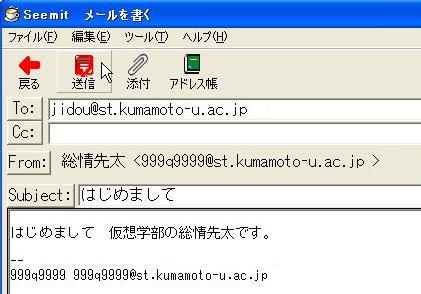
Send an email to the following email address.
jidou★st.kumamoto-u.ac.jp※Please replace the "★" in the above with "@".
The contents of the email can be something like as “How do you do? I am YYYY in the Instructional Systems course.”
The title of the email should be “How do you do?”
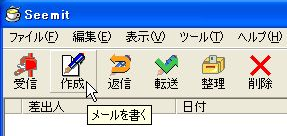
- Click the “Create” icon on Seemit.
- Enter the destination email address in the To: field, and the title of the email in the Subject: field respectively in single-byte characters.
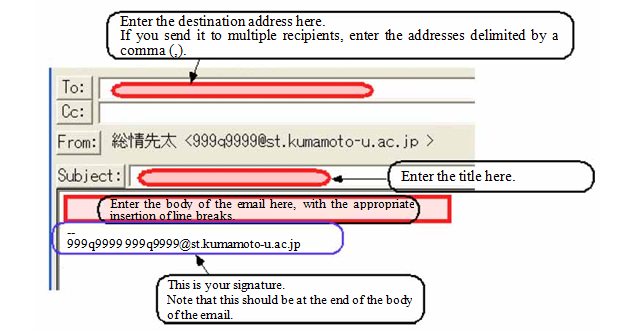
- The body should be written above the signature, with the appropriate insertion of line breaks (at every 30 double-byte characters approximately)
- When you complete it, check the email address again, then click the “Send” icon.
- Returned mail : Host unknown (there was a mistake in the part st.kumamoto-u.ac.jp)
- Returned mail : Unknown user (there was a mistake in the part jidou)
Receiving Email
[Practice 4]
You are to receive a reply from Muno Jinko to the email you sent in the section above, so confirm it.
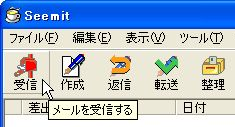
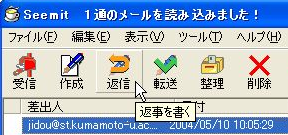
- Click the “Receive” icon
- You will be asked for a password, so enter the password you use to log on to the PC.
- The list showing the title of the received emails (1 message for 1 line) is displayed, click the line of the email you want to read to show its contents.

If you received an email that is shown in red, it is an error mail.
There must be a problem in the email you sent. Carefully read the error mail you received to understand the cause of the error, and create an email without error and send it to the destination address again, then receive the email again. (In most cases, the cause of the error is a mistake in writing the email address.)
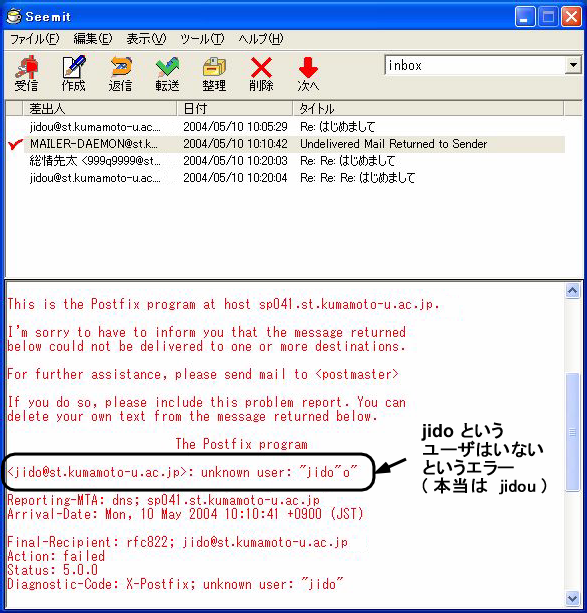
(Note) Error emails are shown in red, this is a function of Seemit. Usually mail software does not have such a function, therefore it is you that have to judge whether it is an error mail or not.
Replying to email
[Practice 5]
Write a reply email to the reply you received from Muno Jinko, then after a while, receive the emails again.
Write a reply using the reply function.
- Select (click) the email you want to write a reply to from the list
- Click the “Reply” icon
- The body of the email you received (which you displayed previously) is
shown with “>” at the beginning of each line, write a reply deleting
the parts that you do not need.
- Confirm that the email address has been automatically entered in the “To:” field.
- Sometimes, you will find email addresses in the “Cc:” field also. If you enter an email address here, the email will be sent to the address written in, like the one written in the “To:” field.
- In most cases, you write a reply to respond or answer to the email you received. Create the reply retaining the quotes from the received email. See below for the example.
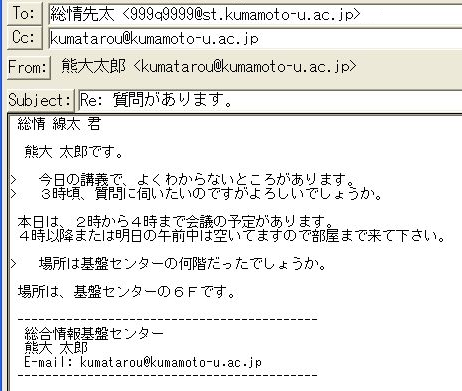
- Check the “To:” and “Cc:” fields carefully to confirm that there are no email addresses that you do not need to send the email it 、 to and that there is no mistake in the email address, etc.
- Click the “Send” icon
- Receive emails again and confirm that you received a reply from Muno Jinko once again.